Sorry that it has taken me so long to post again. Anyone who reads my blogs, feel free to bug me about them, ask questions, or make recommendations as to what you would like to see on the website.
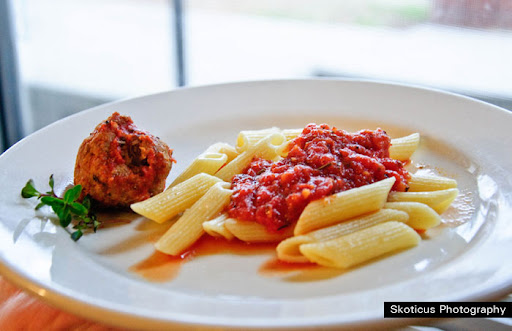
My family only has one truly secret recipe, Rigatoni. So I can't actually share the recipe for it with you (though I solemnly swear to share all other recipes that I make with you, as long as I remember) much as I would like too. If, however, you happen to be in Provo and are feeling hungry I will be happy to share a plate of Rigatoni with you, just comment when you are in town, or email me at lawfromchaos@gmail.com. At the moment I have about two quarts of sauce in the freezer, mmmmm Rigatoni.
Even if I can't share the actual recipe for Rigatoni with you, I can still give you some suggestions, and a few of the methods that go into making an exceptional sauce (Rigatoni is one of my three favorite foods, the other two being Pasty, which is a traditional English dish, and Sushi, which is definitely not a traditional English dish).
First:
Cook the sauce for a long period of time, preferably all day. This is especially important for sauces which use dried herbs, as the long cooking process is required to get the flavor out of the herbs and into the sauce. It should be noted, however, that this is not the case with recipes that rely on the fresh taste of the tomatoes, such as many bruschettas. When the tomatoes in my garden are ripe, I will in fact be making a delicious tomato, onion, and fresh basil bruschetta that cooks for only about 20 minutes (I love serving this over toasted homemade bread, it is amazing, though it goes great with pasta as well).
Second:
Do not be afraid to add more herbs, or create your own variation. It seems at times that red pasta sauce will absorb herbs and taste no different. This is not the case, however, red sauce often needs more herbs than you would think. Also, you should balance out the flavor to add complexity to your sauce, using many complementary herbs allows this to happen. Don't be afraid to experiment with new variations, or follow recipes blindly. Following a recipes can often help, but if you think it needs more garlic, then by all means do a little experimenting. Rigatoni, for example is made slightly differently by each member of my family, even though we all hold to the core techniques. I tend to use more rosemary, while someone else in the family may use other herbs in different levels to their taste.
Third:
Balance out the acidic taste of tomato sauce. Pure tomato sauce tends to taste acidic (it actually tastes much like Spaghetti-o's). This comes from blending the sauce down, as you usually don't taste this flavor in fresh tomatoes. This flavor tends to detract from the overall quality of the sauce, and so should be balanced out. This can be done by adding a small amount of sugar. Also, adding anise seed or fennel seed also help.
Fourth:
Make your sauce a thickness which is appropriate to what you are serving it with. Usually, what you need to think about is the noodles. Our family's special Rigatoni, which is called that because is served with rigatoni noodles, is a thick sauce that has been cooked down and concentrated. This goes well with the ridges on the rigatoni pasta. Similarly, you should ask yourself what consistency your pasta sauce ought to be.
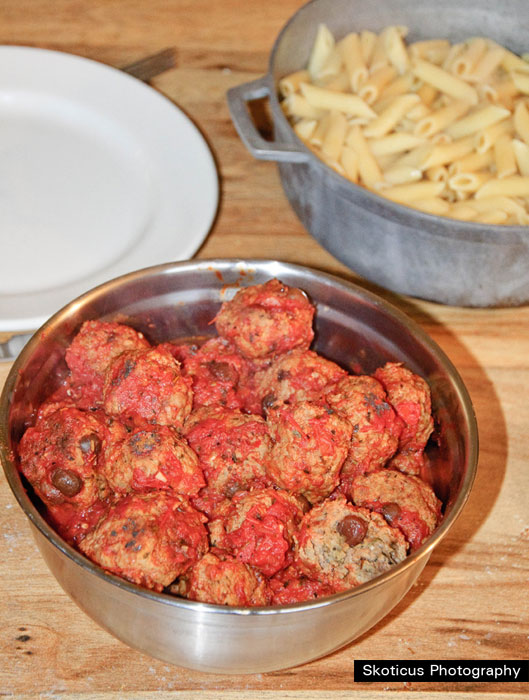
Fifth:
How you cook your meatballs. When making meatballs, you will want them to complement the sauce that they are being served with. This usually means that you will add herbs that are similar to what you put in your sauce, in the meatballs. Another thing to do that adds depth to both the flavor of the meatballs and the sauce is to cook the meatballs in the sauce (Meatballs should be browned before you place them in the sauce to cook, this allows them to hold together, gain extra flavor, and have a proper consistency). Cooking them for approximately 3 hours in the sauce will make sure that the meatballs are cooked through, have taken flavor from the sauce, and they should not yet have started to fall apart. If you leave them too long in the sauce the meatballs will start to fall apart, turning your sauce into a meat sauce, which is probably not what you have intended. If you cook meat in the sauce, you should also be sure to spoon off the grease that will form on the top of the sauce, though it is not necessary to spoon off all of it.
Sixth:
Make your pasta "al dente." Al dente means "to the tooth" or "to the bite" in Italian. It is usually considered the ideal stage for pasta to be cooked to. Americans, unfortunately, tend to overcook their pasta into a mush, even at restaurants. Pasta that is al dente should not have the undercooked floury graininess or overcooked softness of pasta. Pasta should instead be firm with a definite need to chew. Achieving this state of pasta requires that you check and taste your cooking pasta often. Also, adding salt to the water helps. Salt raises the temperature that the water boils at by forming ionic bonds with the water. So while the water will take longer to boil, the pasta itself will take less time to cook. Pasta should also ideally be cooked right before serving.
Enjoy,
Andrew Morris
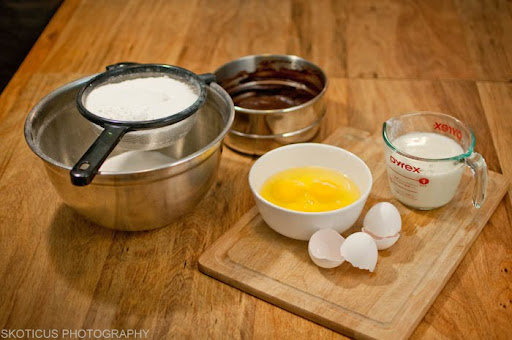
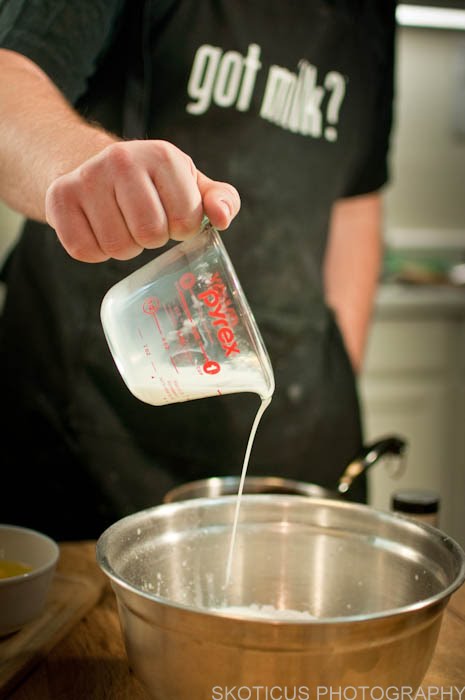
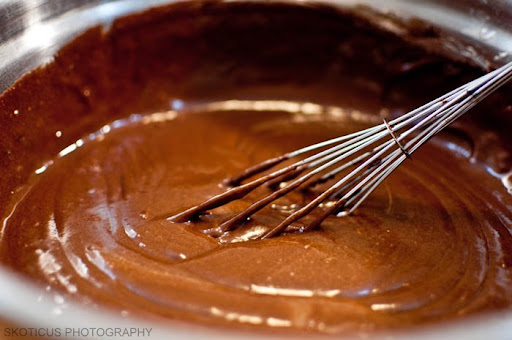
As always, many thanks to Skoticus for providing excellent photography.